| Learning Aims: |
|
| Materials: |
| A computer with internet connection
|
| Suggestions for use: |
|
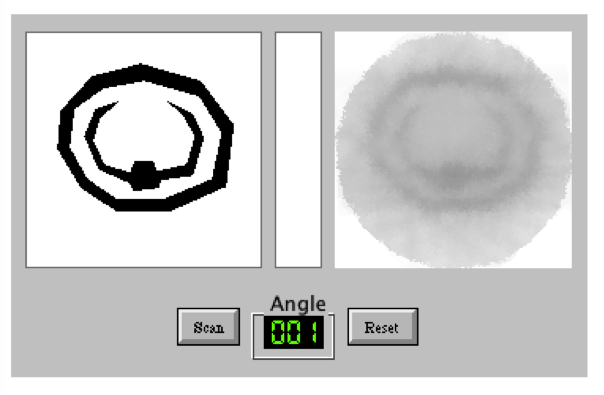
In activity 1 students are faced with a problem that conventional X-ray shadow images are only two-dimensional flat images and they do not provide complete information. In activity 2 they explore how several shadow images can be combined to create a more complete picture. In activity 3 they use simulation available at http://www.colorado.edu/physics/2000/tomography/final_rib_cage.html and learn how the CT scan is created. In the simulation a simple model of a rib cage is shown. The model can be scanned with an X-ray beam. By turning the model around and scanning it for each selected position (angle) a CT scan of the model is created.
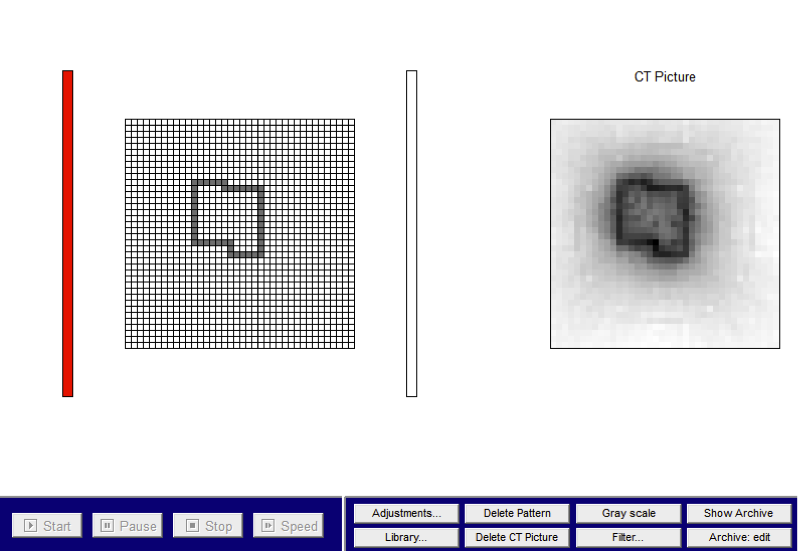
After playing with the simulation encourage the students to explain in their own words the principles of this technique. Raise extra questions, for example about the attenuation of the X-rays, the grey scale of the image, ideas of improving the quality of the scan. Another nice simulation of creating a CT scan is included in the program called CTSim available at Kansas State University Physics Education Research Group http://web.phys.ksu.edu/mmmm/software/CTSim/. Here the user can create an own model to scan and after pressing the Start button the computer produces its CT scan
This program also provides an extended and more advanced explanation of the CT scan technique. In activity 4 students learn how this principle is applied in CT scan machines and get a basic explanation on how a CT scan machine works. The ‘Analog slices’ movie shows analogue representations of tomography, using everything from horned melons to violins and hairdryers. Additionally students can watch the YouTube movie ‘CT Scans How it works’. http://www.youtube.com/watch?v=rN4E8Y5loAs&feature=related. |
|
Possible questions: |
|

